You are viewing an older version of this section. View current production version.
Connecting to MicroStrategy
Introduction
MicroStrategy is a business intelligence software, which offers a wide range of data analytics capabilities. As a suite of applications, it offers data discovery, advanced analytics, data visualizations, embedded BI, and banded reports and statements.
This topic shows you how to integrate MicroStrategy Desktop and MicroStrategy 2019 with MemSQL.
Prerequisites
Prior to configuring MicroStrategy Desktop to connect to MemSQL, you will need the following software installed.
- MicroStrategy Desktop version 11.1.1
- Either the MySQL 64-bit ODBC driver (version 8.0.15) or the MariaDB 64-bit ODBC driver (version 3.1.0). Click on either link to download the install file for the driver. After the download completes, run the install.
Creating a Data Source Name (DSN) to Connect to MemSQL
-
Open the ODBC Data Source Administrator. To find this program on Windows 7, select the Control Panel from the Start Menu. Then click Administrative Tools, followed by Data Sources (ODBC). To find this program on Windows 10, type ODBC Data Sources in the search bar on the Start Menu.
-
Click the System DSN tab.
-
Click Add… on the right. Select either the MySQL ODBC 8.0 Driver or the MariaDB ODBC 3.1 Driver and click Finish.
-
A window appears, where you will configure the settings needed to create the data source. Specify a Data Source Name. In the next section, you will configure MicroStrategy to connect to MemSQL via this data source. For TCP/IP Server, specify the IP address or server name where the MemSQL master aggregator node resides. Specify the User and Password to use to connect to MemSQL.
-
If using the MySQL driver, click Details ». For Authentication type
mysql_native_password. Then click Details «. -
Click Test to test the connection. The connection should be successful.
-
Click OK. The data source appears on the System DSN tab.
Connecting MicroStrategy to MemSQL via your ODBC Data Source
-
Open MicroStrategy Desktop. Click the New Dossier button.
-
Click on the New Data button, which is located on the lower part of the right pane.
-
For the Data Source, select either MySQL or MariaDB.
-
The Select Import Options screen appears. Choose Select Tables and click Next.
-
On the Import from Table - Select screen, click the
+button, which is located to the right of Data Sources. -
The Data Source window appears. Select DSN Data Sources. For DSN, select the data source name that you created in step 4 in the section above. After you select the DSN, specify a Data Source Name, which is how you will refer to the data source when using it in MicroStrategy. Click Save.
-
On the Import from Table - Select screen, the data source you created in the previous window appears in the Data Sources Section on the left. Click on this data source. Its tables appear in the Available Tables pane on the right. You can now explore the data in these tables.
When integrating MicroStrategy 2019 with MemSQL, the recommended versions are shown below:
| Certification Matrix | Versions |
|---|---|
| MicroStrategy Enterprise | 2019 |
| MemSQL | 6.7 |
| MySQL ODBC Unicode driver | 8.0 |
MicroStrategy three-tier architecture
A MicroStrategy system is built around a multi-tier structure. This section provides instructions on how to set up a three-tier architecture. The diagram below shows a four-tier system including the use of MicroStrategy Developer. The instructions below will not cover how to set up or use MicroStrategy Developer as part of a MicroStrategy-MemSQL solution.

Tier 1
The first tier consists of two databases: the data warehouse, which contains the information that your users analyze; and the MicroStrategy metadata, which contains information about your MicroStrategy projects. This topic shows how to use a MySQL server for storing the metadata and how to use a MemSQL cluster as a data warehouse.
Tier 2
The second tier consists of MicroStrategy Intelligence Server also called I-server, which runs your reports, dossiers, and documents against the data warehouse.
Tier 3
The third tier is MicroStrategy Web, which delivers the reports to a client.
Install Tiger Virtual Network Computing (VNC)
TigerVNC is a high-performance, platform-neutral implementation of VNC (Virtual Network Computing), a client/server application that allows users to launch and interact with graphical applications on remote machines. You will use this for all MicroStrategy interactions in GUI mode.
The following instructions describe how to perform and start a VNC server on the machine that will run MicroStrategy 2019. In this guide, the OS for that machine is RHEL 7.x.
-
First, follow the instructions from RedHat’s documentation to install TigerVNC.
-
As the root user, uncomment the last two lines in
/etc/sysconfig/vncserversand save the file. -
Run
echo "kernel.sem=250 32000 100 2048" >> /etc/sysctl.conf. -
Reboot the machine.
-
Create the
mstruseruser. Set a password as follows:su – mstruservncpasswdSet it to
mstr123. -
Start the vncserver as root.
/etc/rc.d/init.d/vncserver startCheck the output messages and confirm the server is listening on port 5901 or 5902. Also check the
vnc<ip>.logto confirm the port.
After you have a VNC server set up, you must set up the TigerVNC client application on a client machine.
-
On your client machine, download and install the latest stable version of TigerVNC.
-
Open a terminal window and connect to the VNC server.
ssh -i "<pem file>" -L 5901:localhost:5901 mstruser@<domain name of server> -
Start the Tiger client application and set the VNC server address to localhost:5901.
-
Click Connect.
-
Enter the password
mstr123. If successful, a Tiger VNC window will open with a built-in terminal window.
<div class="callout-title">
    <i class="fas fa-info-circle icon" aria-hidden="true"></i> Info
</div>
The Tiger VNC client will render only if the VNC terminal is active on the server.
Install MicroStrategy 2019 on Red Hat 7.x
-
On your server, download MicroStrategy 2019 Intelligent Enterprise from MicroStrategy. The filename will be similar to MicroStrategy_11.1_Linux.tar.gz.
Note You will need a license from MicroStrategy to use MicroStrategy 2019 Intelligent Enterprise.
-
Create the directory
/var/lib/mstr. Make sure sufficient space is available. -
Extract the tar file mentioned above into
/var/lib/mstr. -
Change directories into
/var/lib/mstr/Installations/QueryReportingAnalysis_Linux.cd /var/lib/mstr/Installations/QueryReportingAnalysis_LinuxNote: Please ensure that all the directories belong to the
mstruser. -
Run
./setup.sh. This script will load the GUI window. Note: The user configuring and starting VNC must be same as user installing MicroStrategy, which in this case ismstruser. -
Follow the prompts on the screen for the installation.
-
Specify
/var/lib/mstr/MicroStrategyas the location for all the software components. -
Disable SELinux and then reboot the machine.
-
Install Perl (if not already present).
sudo yum install perl -
Install the following Linux packages on the Red Hat machine as shown below:
sudo yum install libXcursor libXdamage libXext \ libXfixes libXi libXrender libXtst nss nss-util \ nspr cups-libs dbus-libs expat libXScrnSaver libXrandr \ alsa-lib pango cairo atk at-spi2-atk gtk3 gdk-pixbuf2 libgcc -y -
Install only the necessary components. (MicroStrategy will automatically indicate if there are dependencies.)
-
Ensure that the installation was successful by checking the onscreen messages and reviewing
./MicroStrategy/log/install.log.
Install MySQL Driver for MicroStrategy
-
On your MicroStrategy Intelligence server, follow instructions from here to install the MySQL 5.7 suite (MySQL Community Server and MySQL Service).
Note: MicroStrategy 2019 does not work with MySQL 5.2 ODBC driver or MySQL 8.0 (mysql80-community-release-el7-1.noarch.rpm). Also, check
/usr/lib64/for the filelibmyodbc8w.so. This must be on your Intelligence Enterprise server before continuing. -
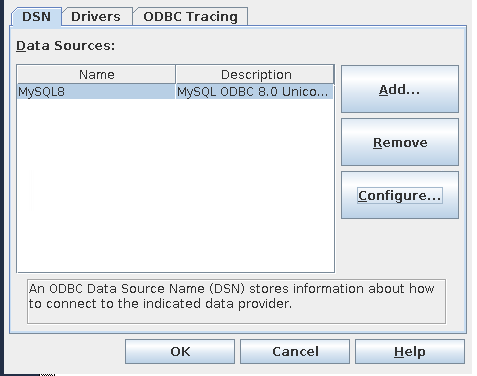
Run
/home/mstruser/MicroStrategy/bin/mstrodbcadxand configure an ODBC connection. -
Click Add and enter the details on the next screen.

-
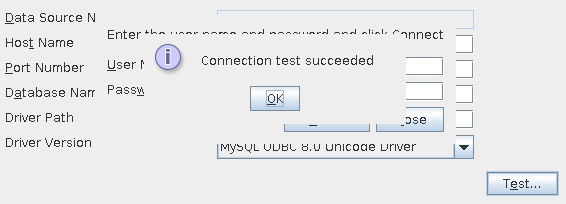
Enter the username and password for the MySQL server and click Test.
Configure MicroStrategy Intelligence Server on Red Hat
-
Run
/home/mstruser/MicroStrategy/bin/mstrlicmgrand check the first screen (shown below). The license status should be Active; otherwise, click on the License Administration tab and follow the screen prompts to request an activation code. MicroStrategy will send the code to your registered email. Using the same screen enter the Activation code to activate the installation.
-
Run
/home/mstruser/MicroStrategy/bin/mstrcfgwiz. -
Choose the first option “Create Metadata,….".
-
Uncheck History and Statistics option and click Next.
-
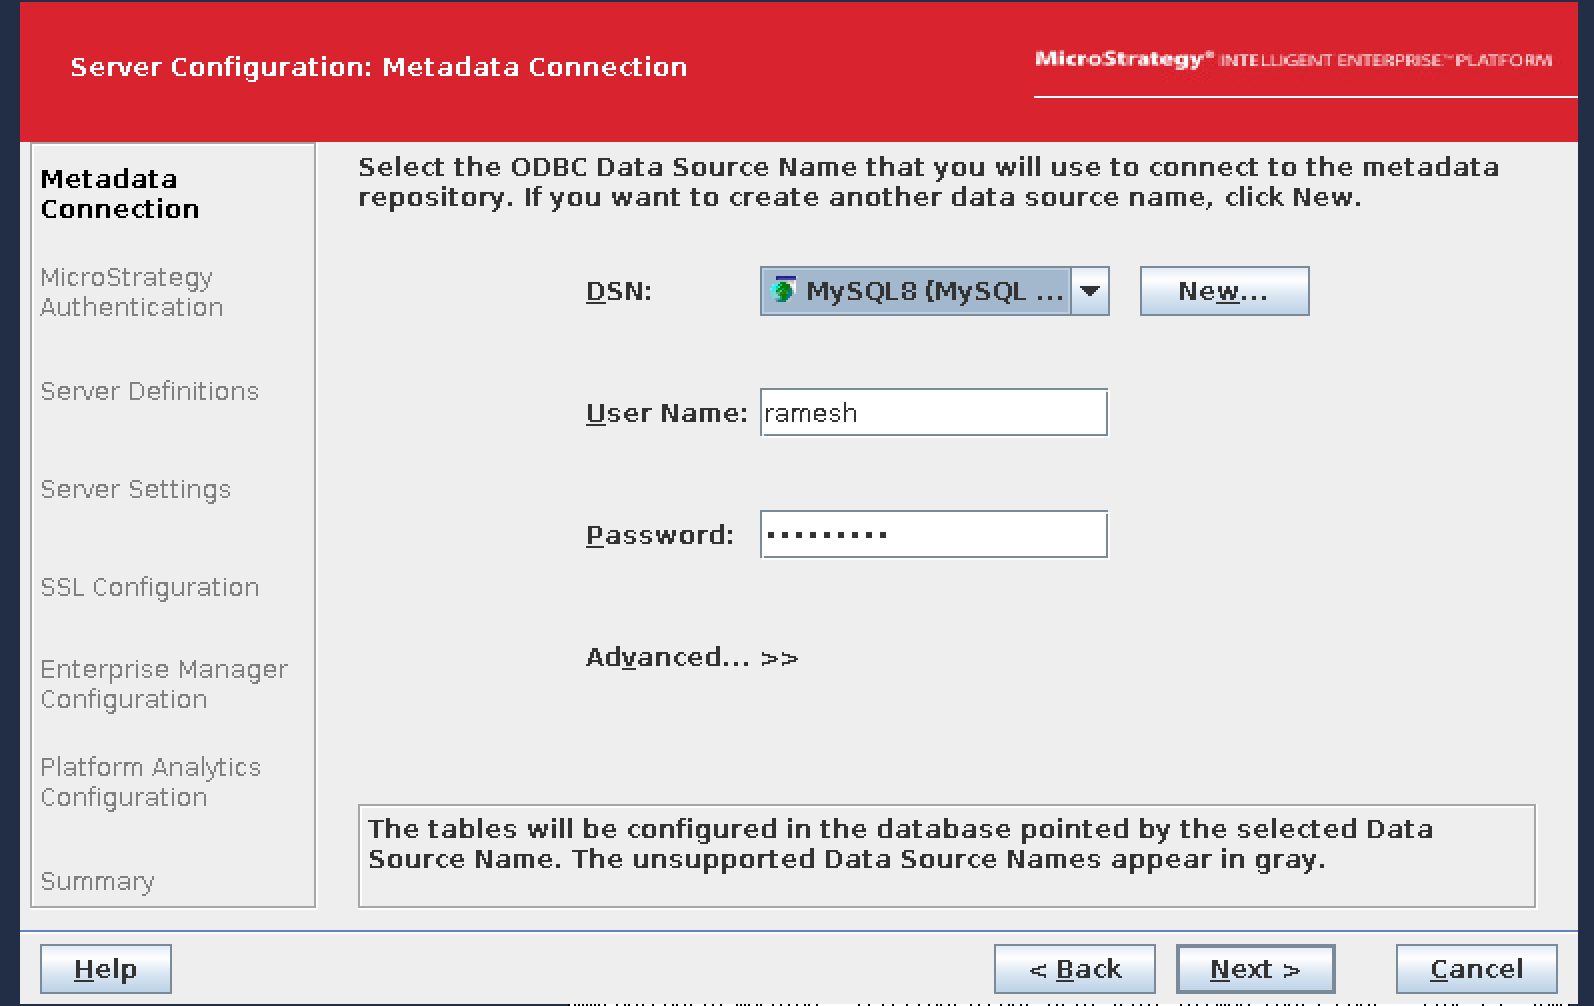
Select MYSQL8 in the next screen for DSN and provide your user name and password (same as ODBC connection). Click Next.
-
On “Metadata Repository Connection Information”, click Apply.
Note: MicroStrategy metadata will be created in the metadata2019 database in MySQL Server.
-
Click Configure Intelligence Server.
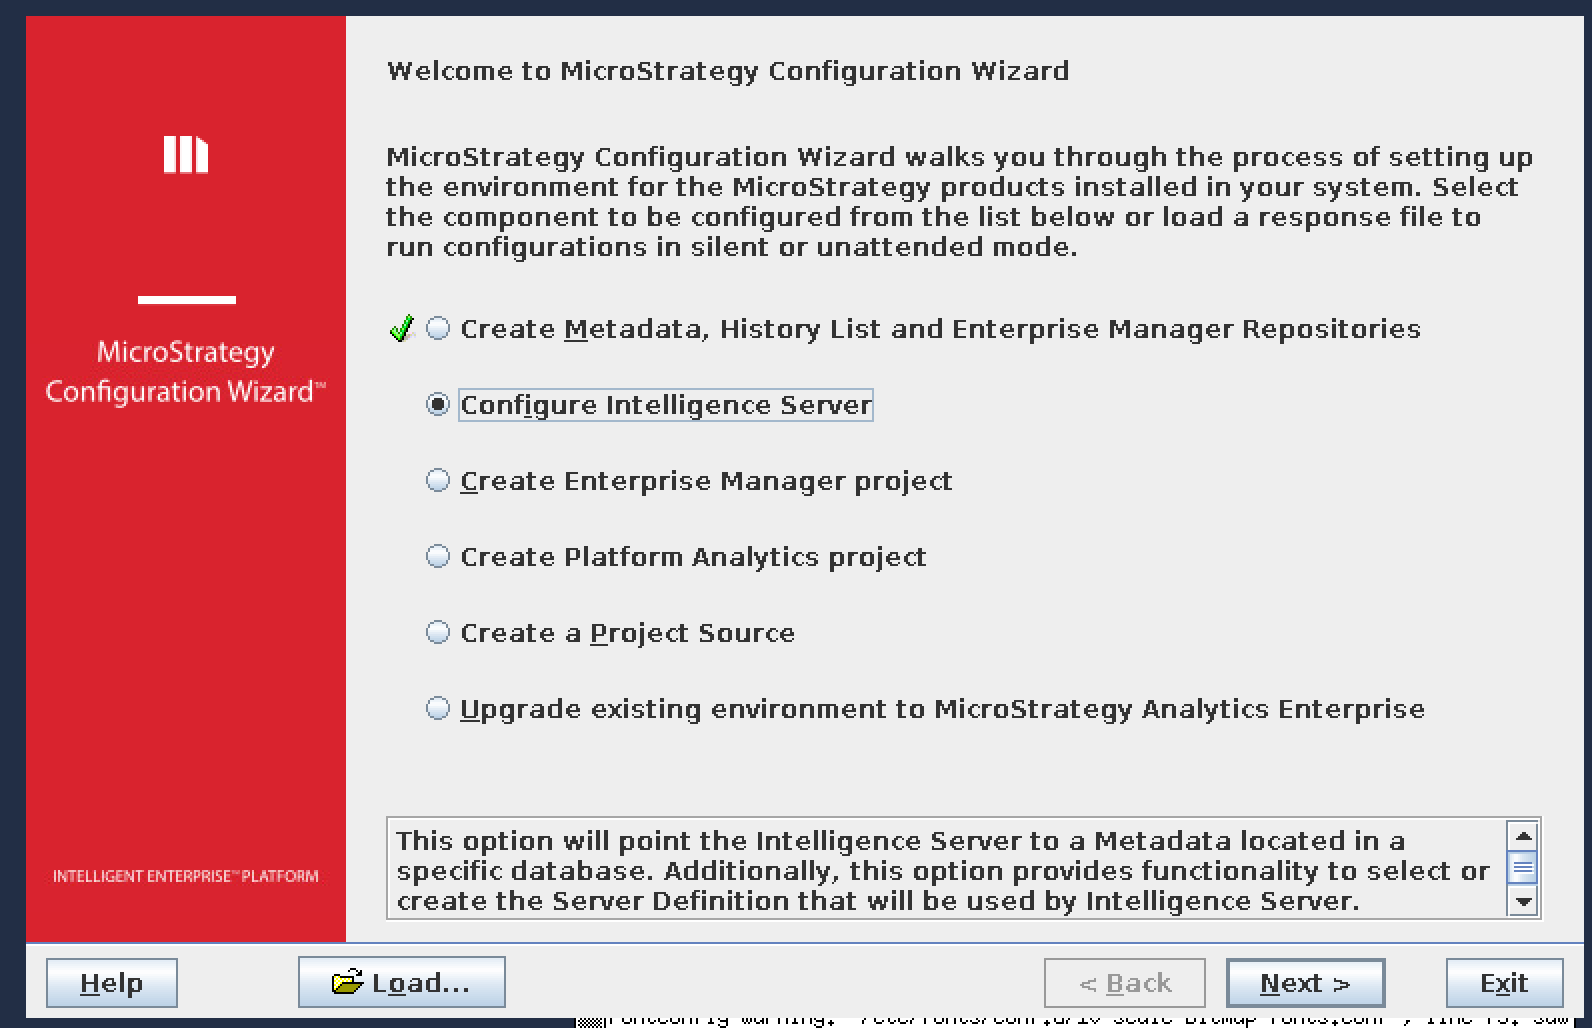
On the next screen the DSN information will be pre-populated.
-
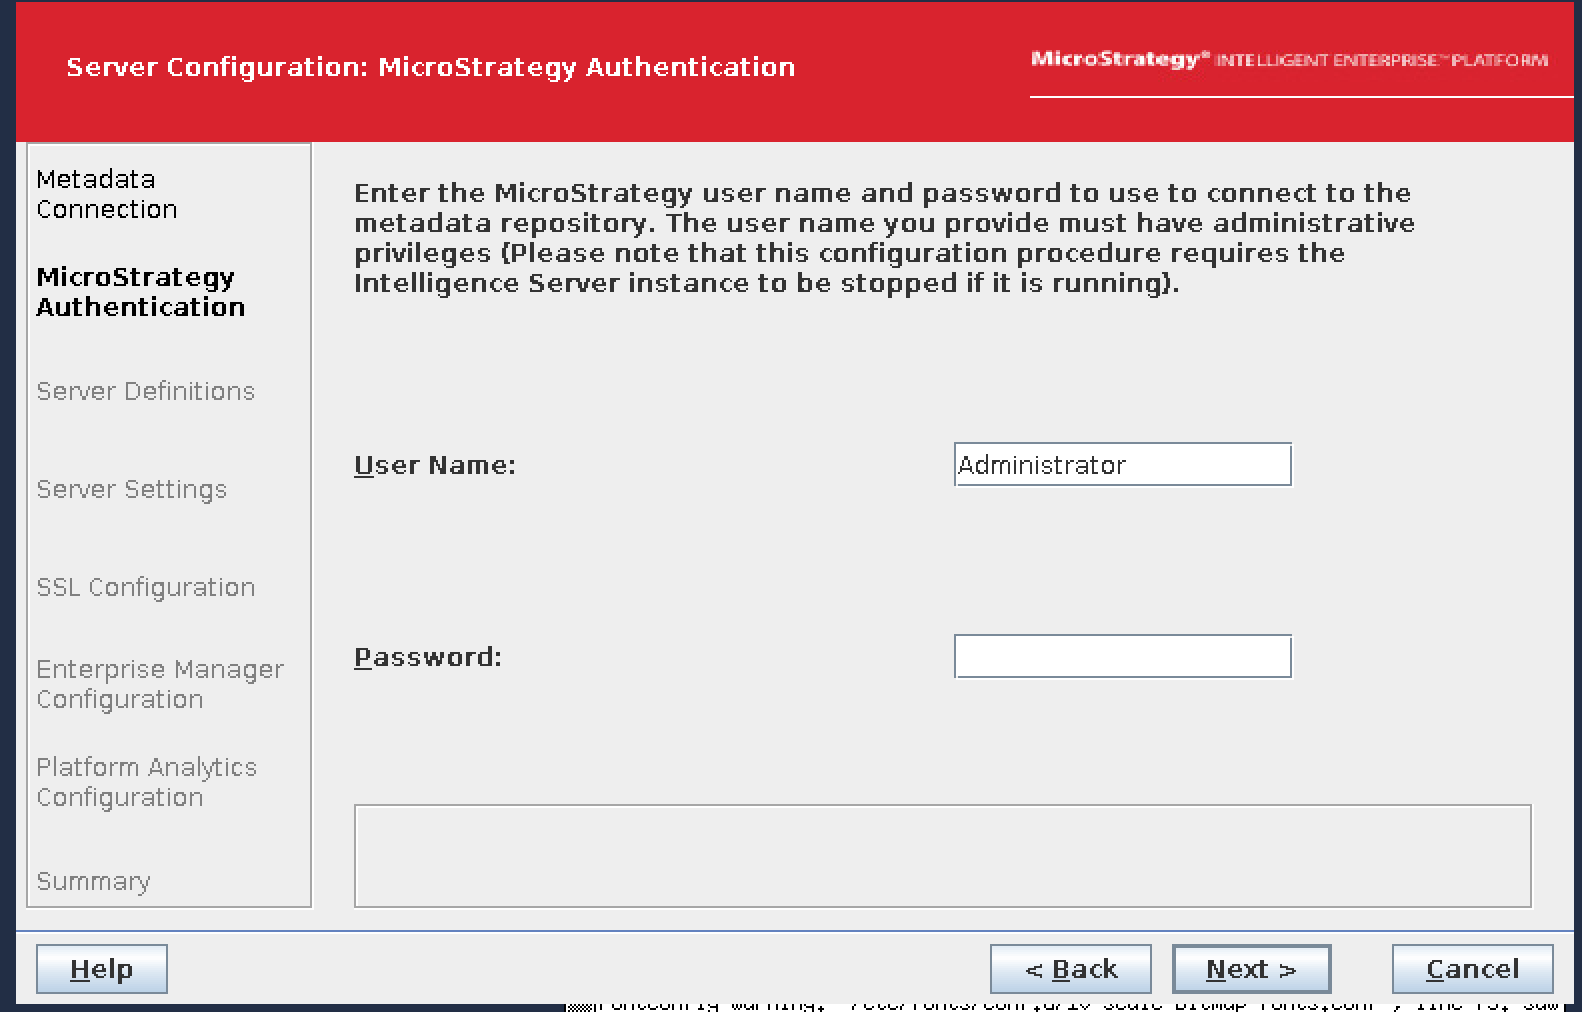
On the next screen do not enter any password, just click Next.
-
On the next screen enter
MSTR2019_IServeras the Name and click Next.
-
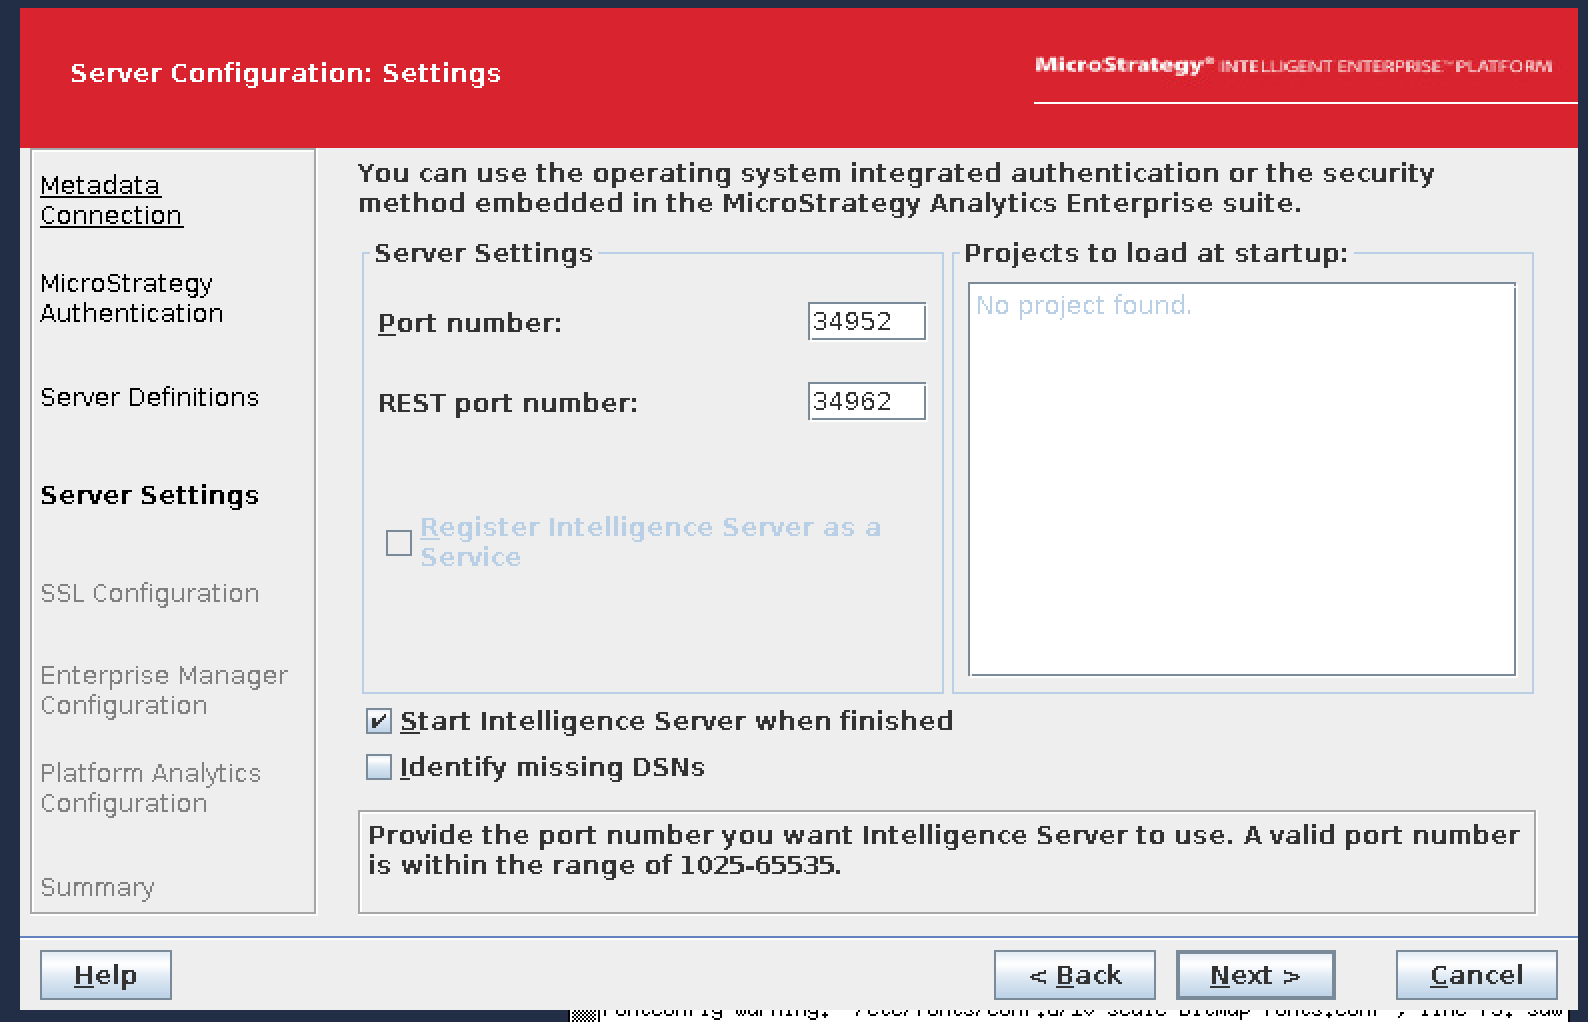
On the next screen leave the port numbers as the default selected and click Next.
-
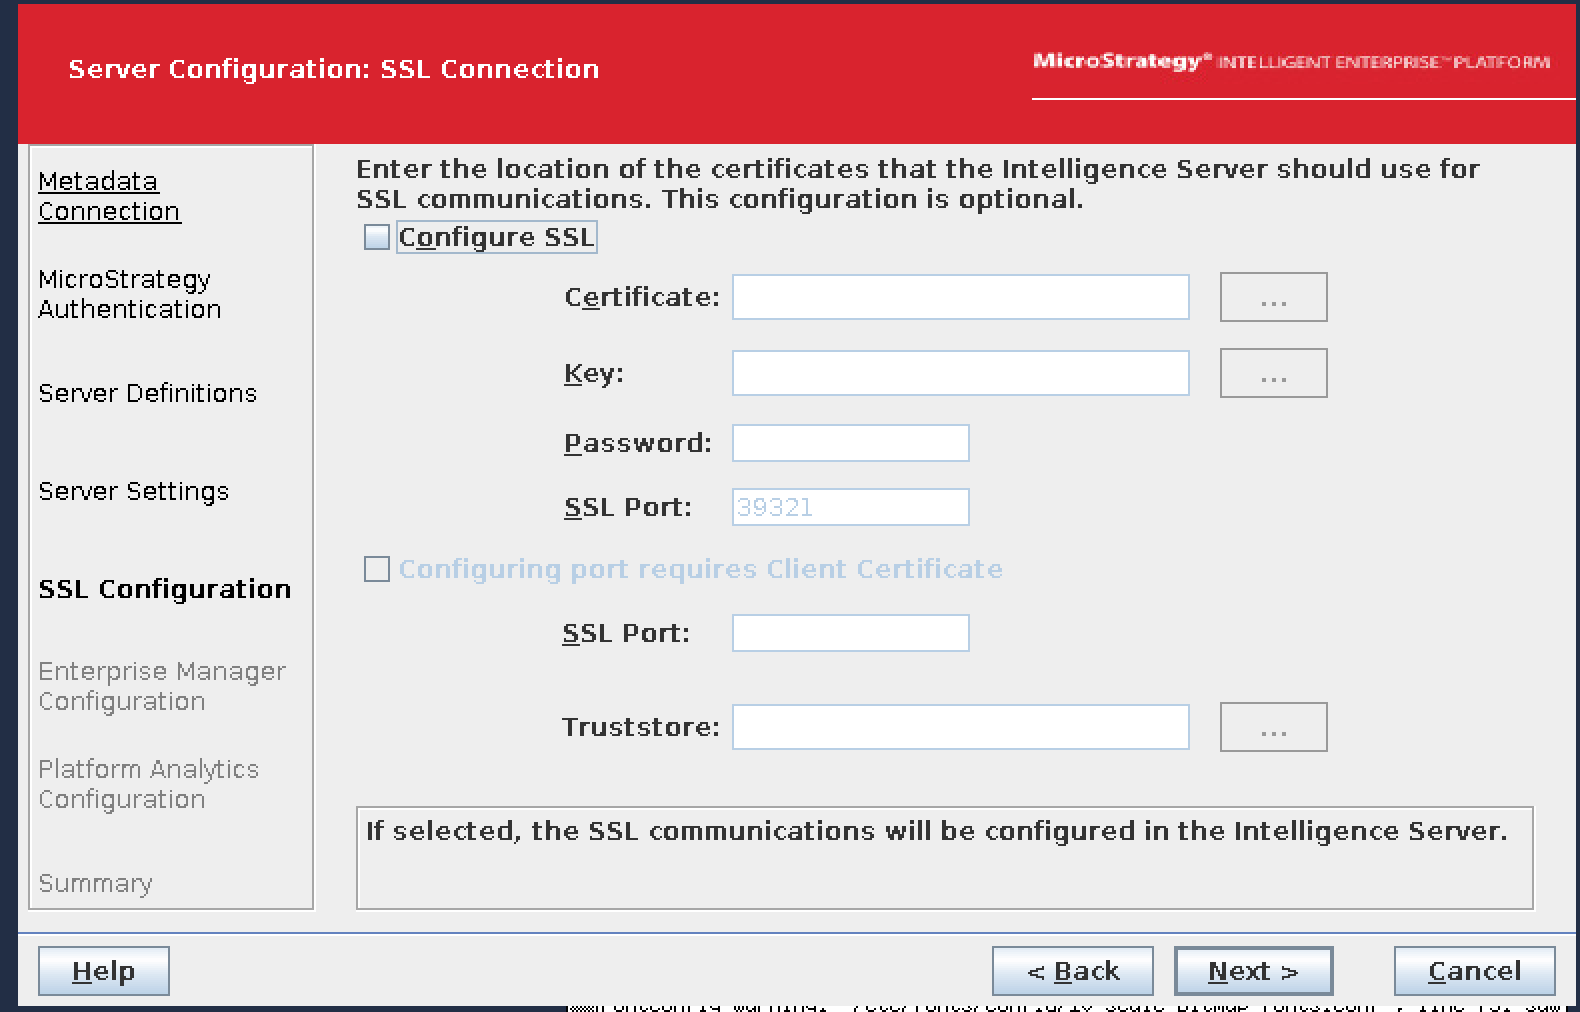
On the next screen no need to check “Configure SSL”, so click Next.
-
On the next screen check the “Enable…” checkbox for statistics and provide the same credentials of MySQL as you did before. Click Next.
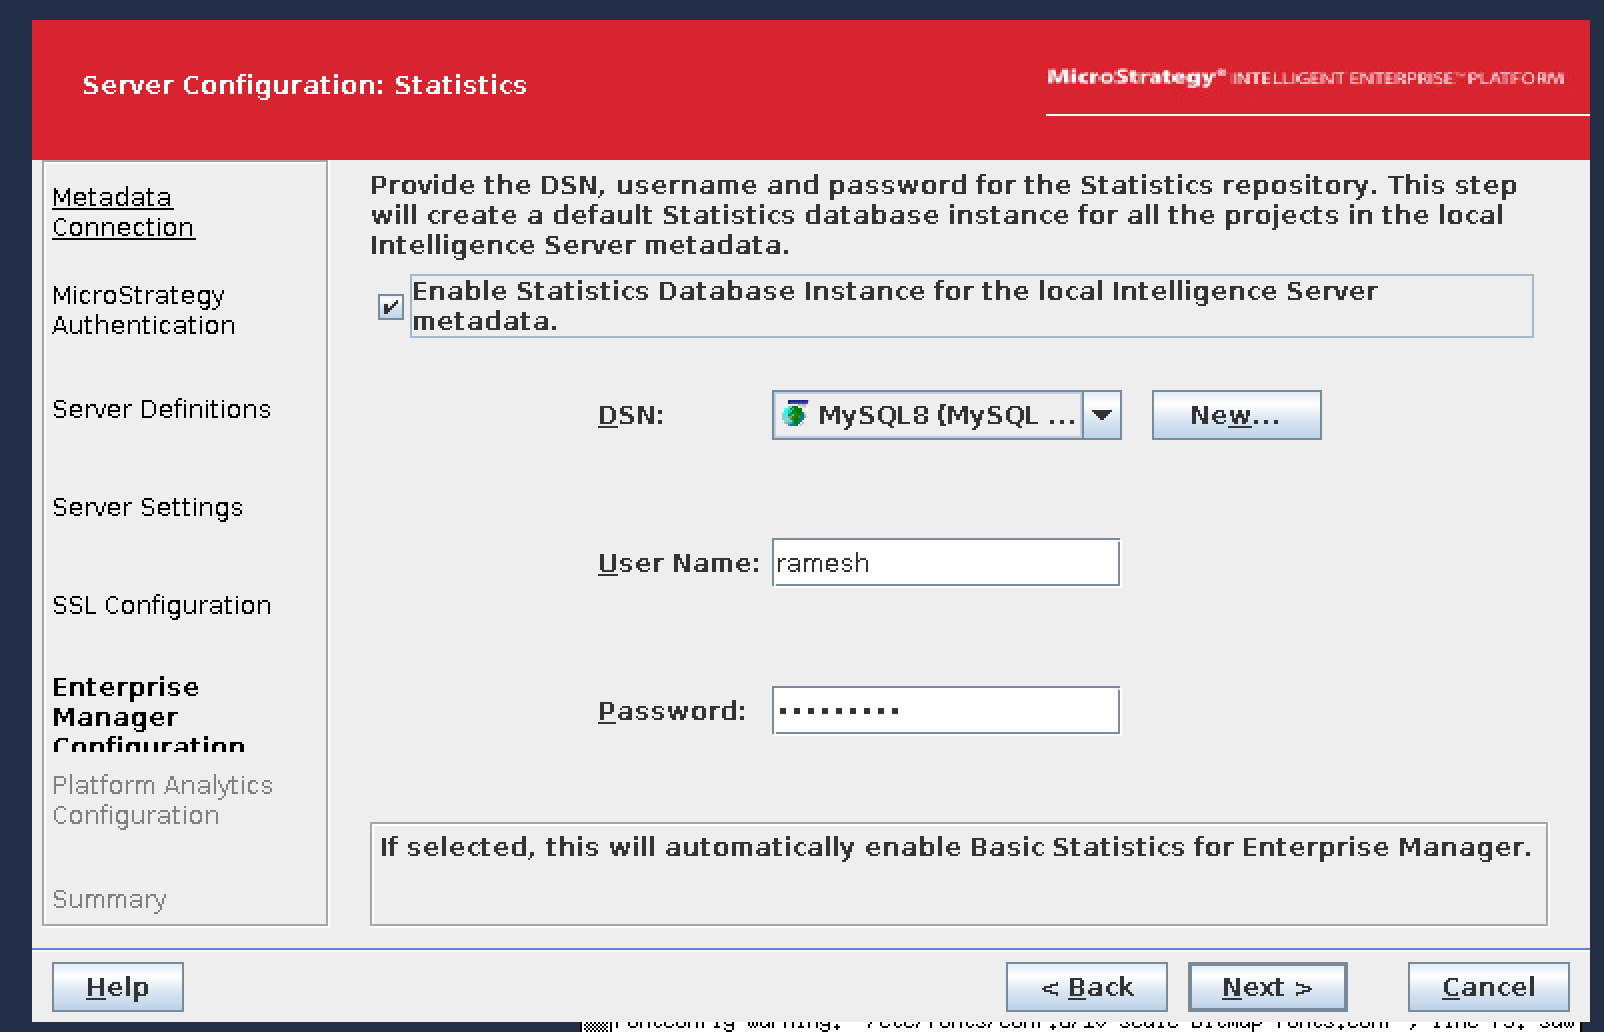
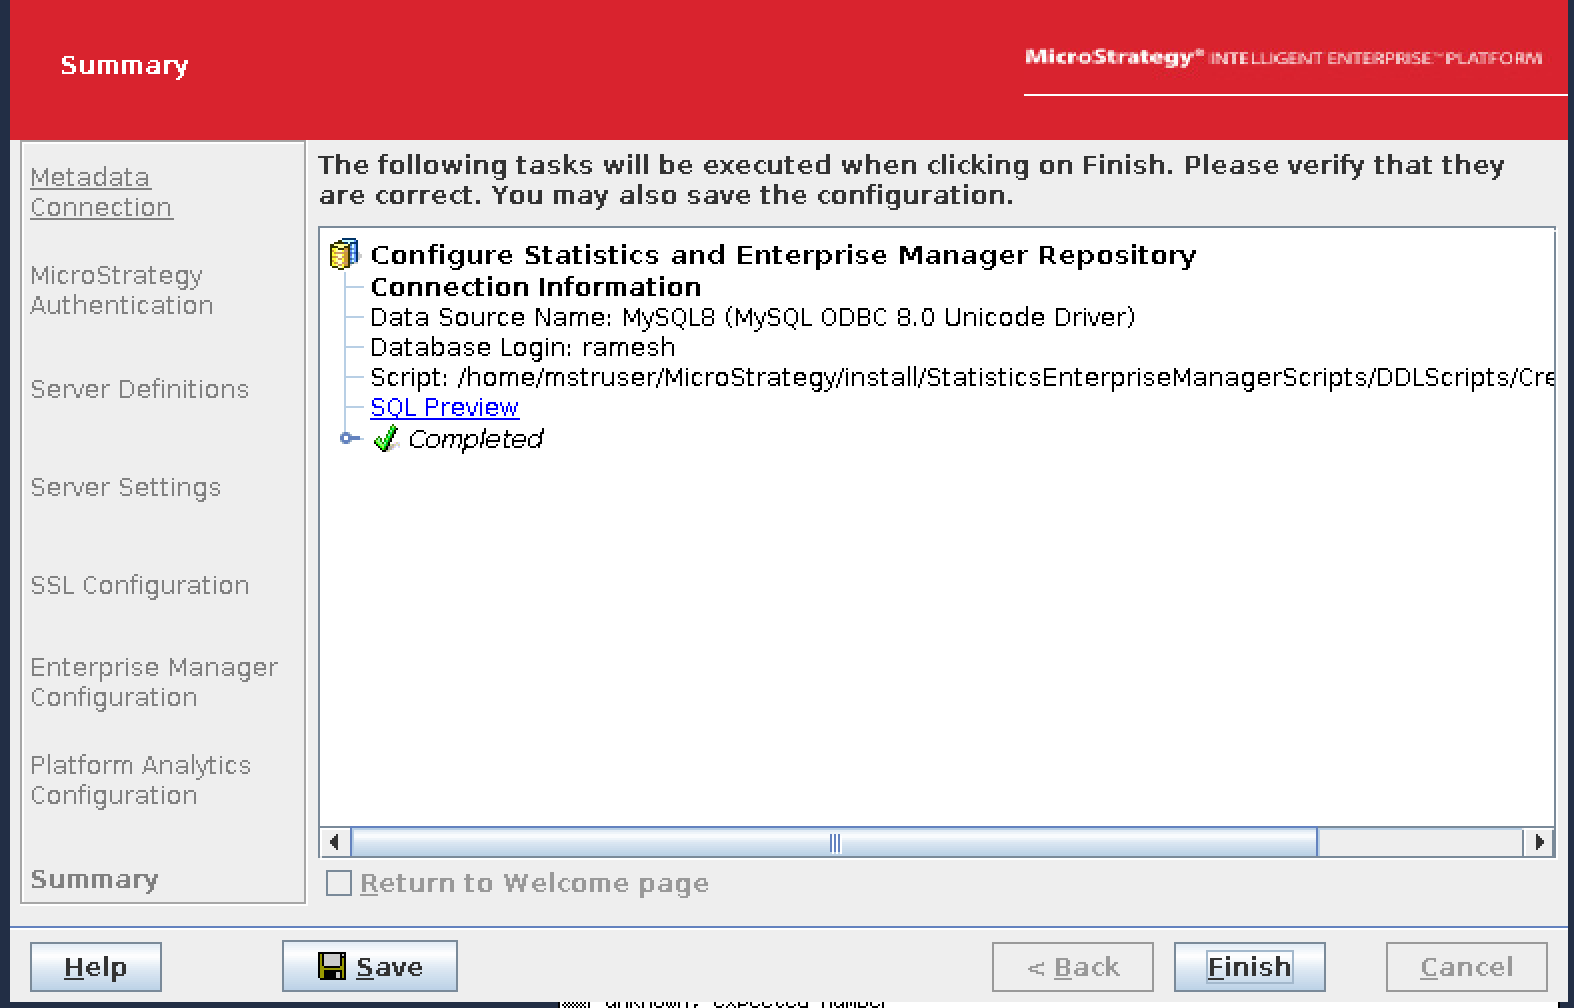
-
On the next screen, click Next.
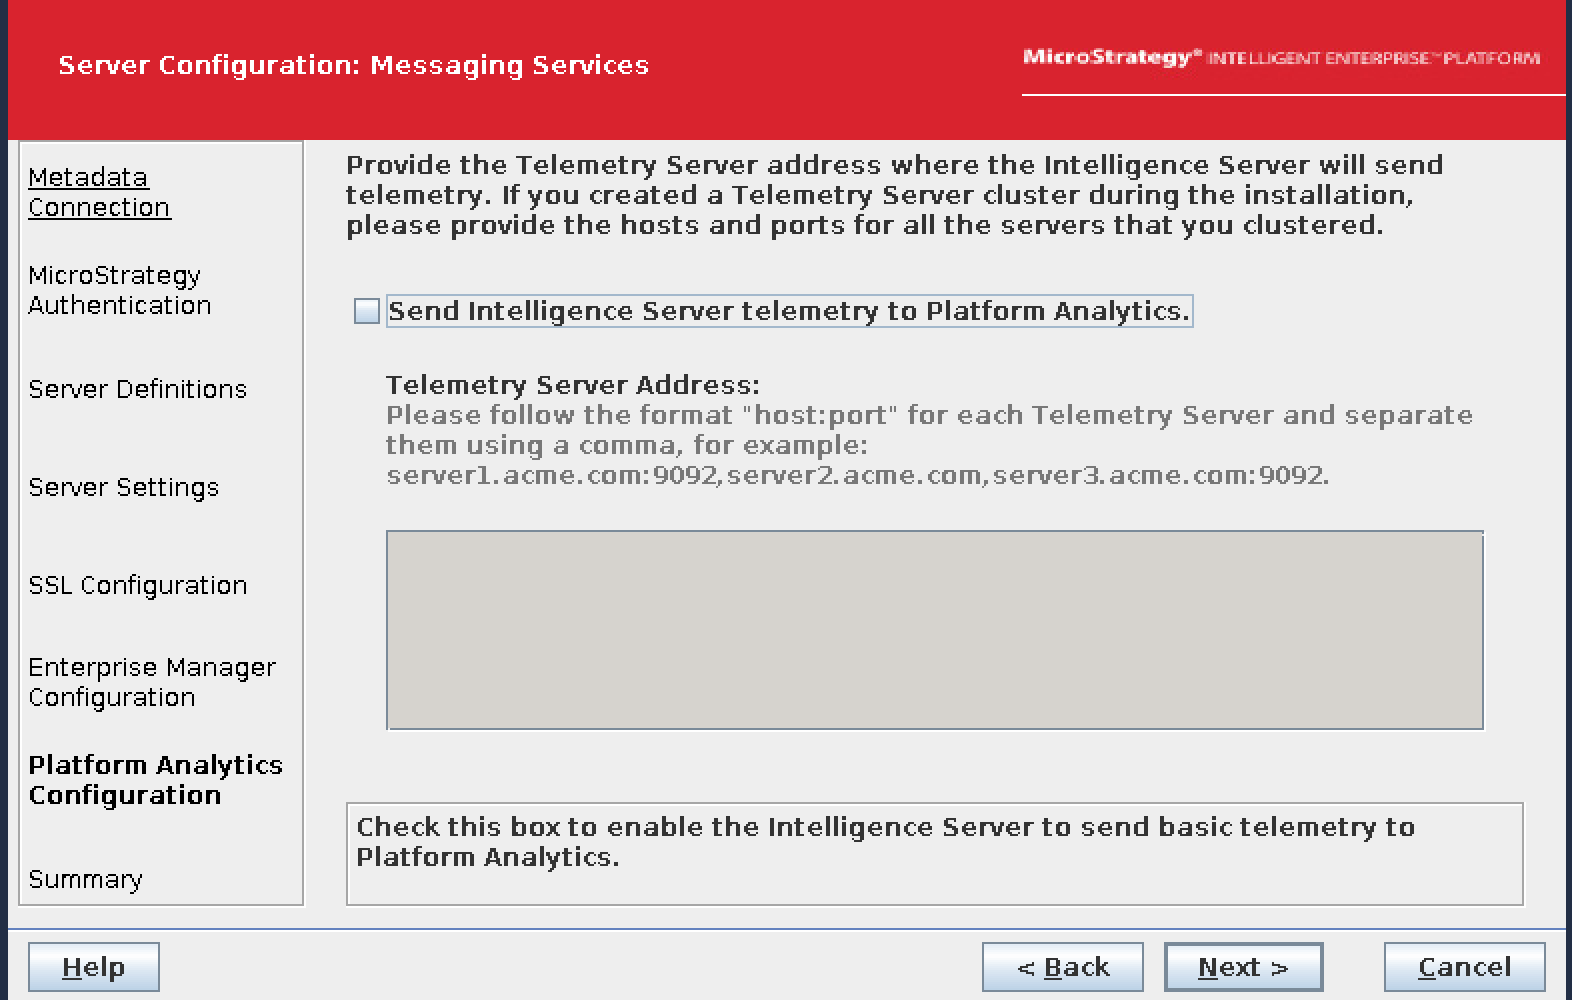
-
On the next screen, click Apply. MicroStrategy will run the scripts and confirm completion. Click Finish.
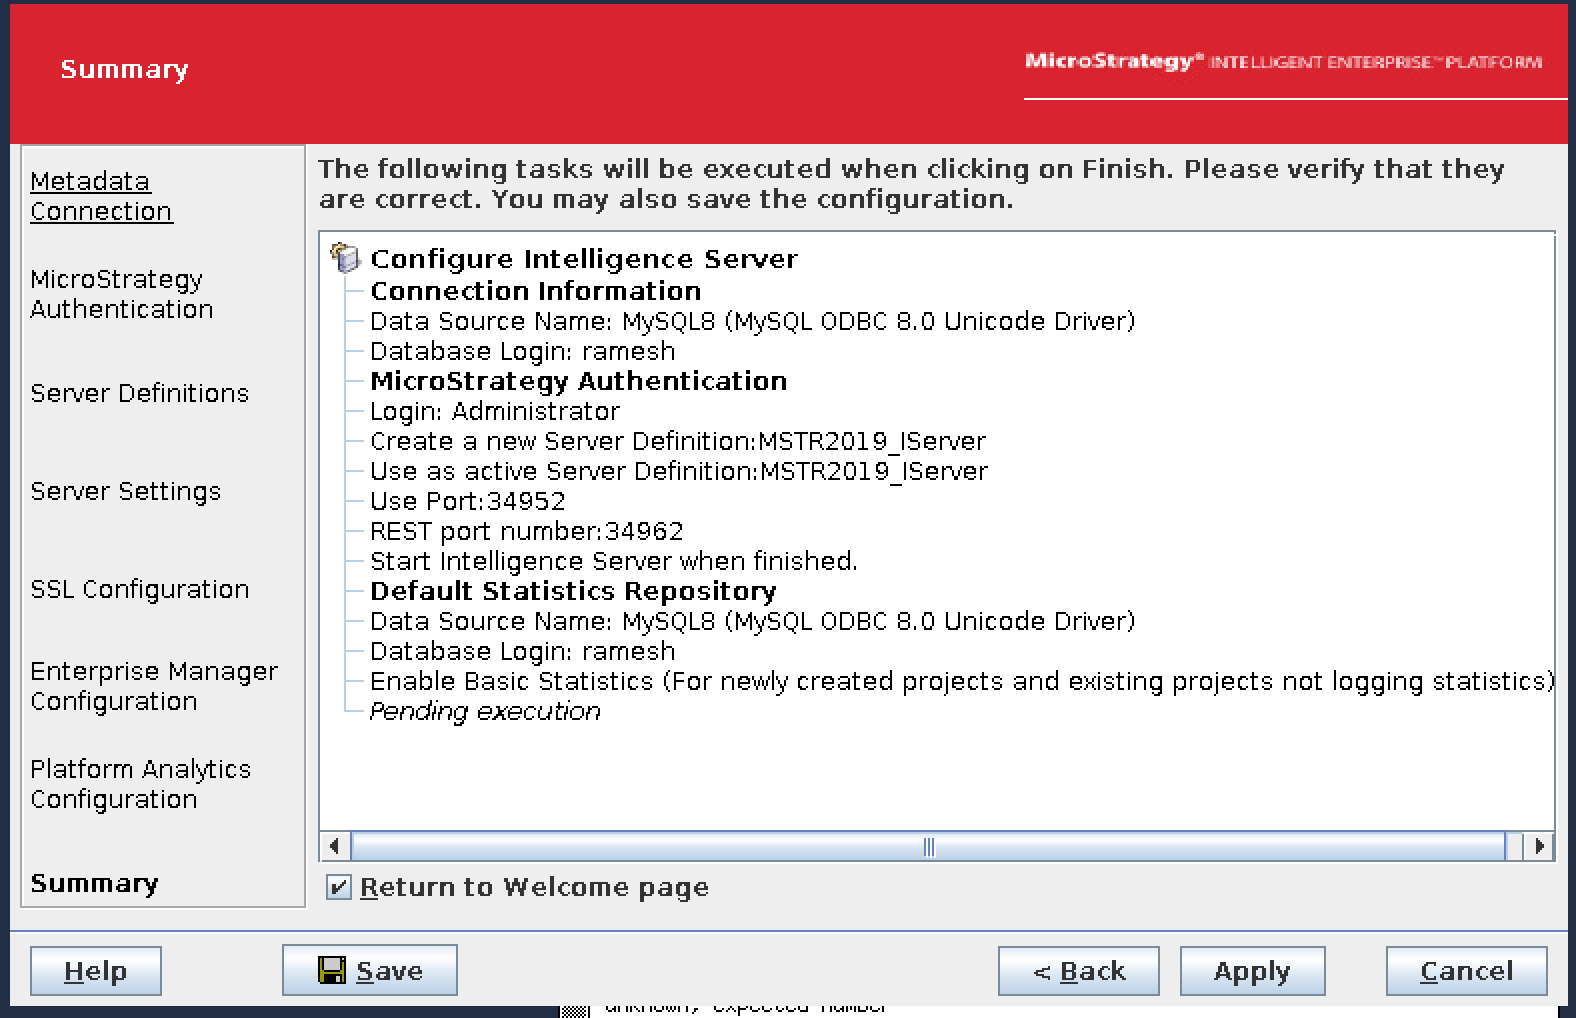
Install JDK on Red Hat
MicroStrategy Web Interface requires Java to be installed, so you must download and install the JDK on the RedHat server that is running MicroStrategy 2019 Intelligent Enterprise.
-
Navigate to the Oracle JDK download page.
-
Download jdk-6u45-linux-x64-rpm.bin.
Note: You may need an Oracle account to download the JDK.
-
Login to the Red Hat server which has MicroStrategy installed already and run
sudo su -to assume root privileges. -
Copy the file
jdk-6u45-linux-x64-rpm.binto the/var/lib/mstrdirectory and give the file execute permissions.chmod 744 -
Execute the file as
./jdk-6u45-linux-x64-rpm.bin. It will unpack all components under/opt/sun/javadb. -
Update
/home/mstruser/.bash_profilewith the following:export JAVA_HOME=/opt/sun/javadb export PATH=$JAVA_HOME/bin:$PATH -
Verify that Java was installed correctly by running
java -versionandjavac -version. Version 1.6.0_45 should be listed.
Install Tomcat 7 on Red Hat
Now you will need to install Tomcat 7 on your RedHat server running the MicroStrategy Intelligence server software.
-
Login to the Intelligence server.
-
Install Tomcat 7.
sudo yum install tomcatNote: All important files will be installed in the
/usr/share/tomcatdirectory. -
Edit the
/usr/share/tomcat/conf/tomcat.conffile and change the value forJAVA_OPTSas follows:JAVA_OPTS="-Xms1024m -Xmx2048m" -
Start Tomcat.
sudo systemctl start tomcat
Start MicroStrategy Intelligence Server
Start the Intelligence Server by running /home/mstruser/MicroStrategy/bin/mstrsvcmgr and then click Start.
The Intelligence Server will start and the status will change to Running.
<div class="callout-title">
    <i class="fas fa-info-circle icon" aria-hidden="true"></i> Info
</div>
Tiger VNC window may hang when the MicroStrategy Intelligence Server is running and hence make that terminal unusable. An alternate way of starting Intelligence server is from the command line by running the following from the MicroStrategy/bin directory:
sudo ./mstrctl -s IntelligenceServer start
Configure MicroStrategy Project Source
Once the MicroStrategy metadata is built and the Intelligence Server has beenconfigured, it is necessary to create one or more Project Sources. A Project Source could be defined as a direct or indirect access point to the metadata. It is used by MicroStrategy Developer and other client interfaces to build, interact, and manage the contents of the MicroStrategy metadata.
You need to have a machine running MicroStrategy Developer for creating the project source. Follow these steps for creating a project source:
-
Go to the Tools menu -> Project Source Manager.
-
Provide a Project Source name.
-
Click Add and then select Server for the connection mode.
-
Provide the Intelligence Server IP address, or server name, and a port number if applicable.
-
To open the web interface, open the following URL:
https://<IP address of the machine running the I-server>:8080/ MicroStrategy/servlet/mstrWebAdmin -
Use
Administratoras the login username with no password.
Accessing MemSQL database through MicroStrategy web interface
Login into the web interface and follow the steps below to access the MemSQL database:
-
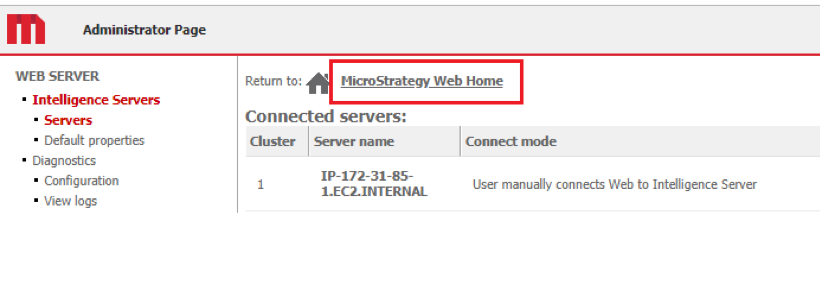
Click on the MicroStrategy Web Home on the Administrator Page:
-
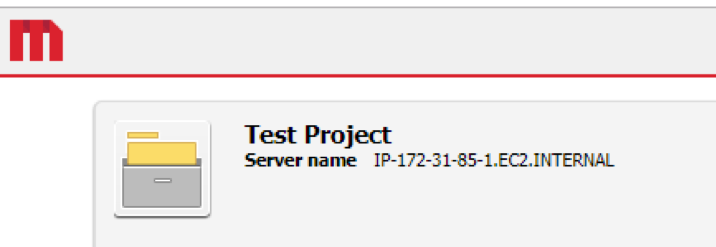
You will be able to see the source project created above. Click on the project source.
-
Enter the user name and password. A successful login will take you to the Home page of your project source.

-
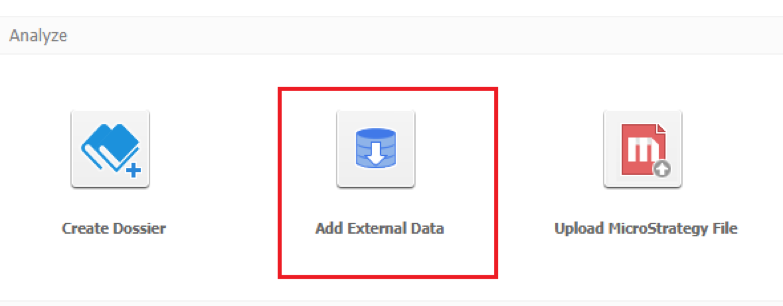
Select Add External Data under the Analyze section.
-
On the Connect to your Data page, select Databases.

-
Select Select Tables option and then click Next.
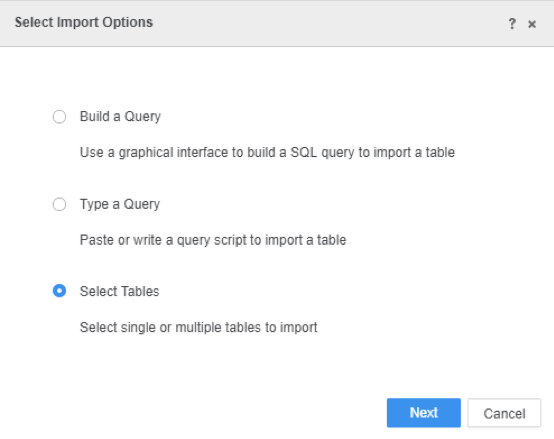
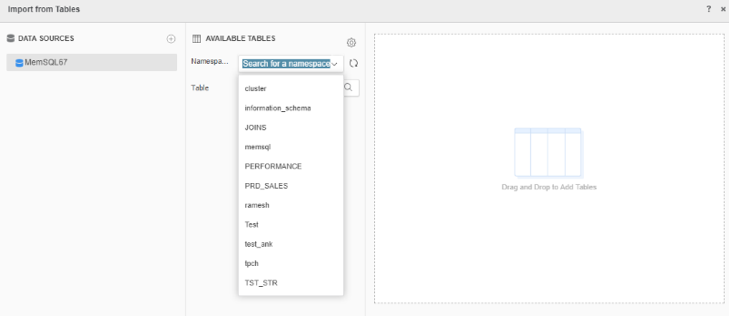
You will be able to see the existing MemSQL data sources along with the databases.
-
Select the required database and then drag drop the required tables on to the canvas. Click Finish.
-
Based upon your requirement, select the data access mode:

-
Save the connection and you are ready to create dossiers, documents and much more.
