You are viewing an older version of this section. View current production version.
Data Import Page
Please follow this guide to learn how to migrate to SingleStore tools.
MemSQL Streamliner is deprecated in MemSQL 6.0. For current Streamliner users, we recommend migrating to MemSQL Pipelines instead. MemSQL Pipelines provides increased stability, improved ingest performance, and exactly-once semantics. For more information about Streamliner deprecation, see the 5.8 Release Notes. For more information about Pipelines, see the MemSQL Pipelines documentation.
MemSQL Ops 5 features the ability to both perform one-time data import jobs and natively ingest real-time data from external sources. The Data Import Page allows user to perform a one-time data import.
To access the Data Import page in MemSQL Ops, you must first deploy Apache Spark. MemSQL Ops provides to functionality to deploy Apache Spark easily to the MemSQL Ops host. Deploying Apache Spark in this manner also enables MemSQL Streamliner.
The data import sources include:
- CSV files in Amazon S3 buckets
- CSV files in Hadoop Distributed Filesystems (HDFS)
- MySQL database tables
The initial page for Data Import is shown below.

Click on one of the buttons to choose a data source. Next, you’ll be asked for the connection information for the data source.Here are the configuration forms for each of the data sources.
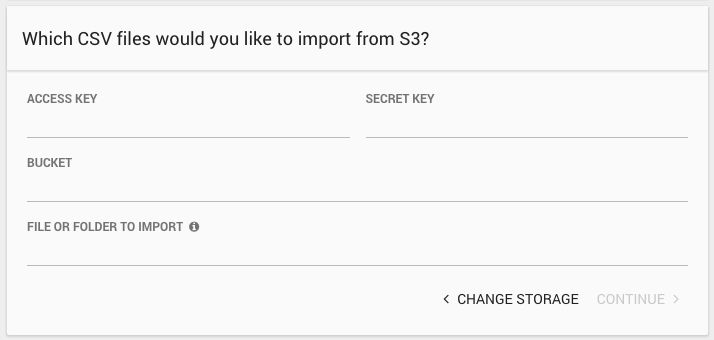
For S3, provide:
- Access Key: An AWS Access Key for a user with access to the data in S3.
- Secret Key: An AWS Secret Key for a user with access to the data in S3.
- Bucket: The name of the S3 bucket containing the CSV data.
- File or Folder to Import: The path to the file or files to import. You can use the wildcard character ('*') at the end of the path to import all files with the matching prefix.
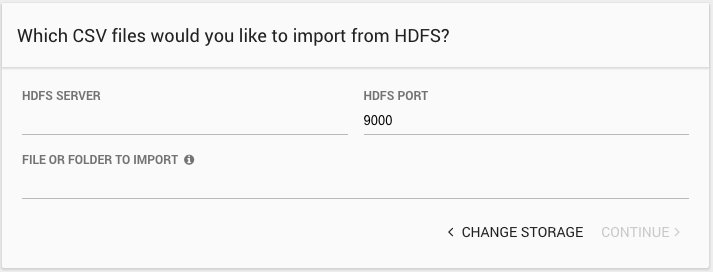
For HDFS, provide:
- HDFS Server: The IP address or hostname of the HDFS server.
- HDFS Port: The port for the HDFS server. Defaults to 9000.
- File or Folder to Import: The filesystem path to the file or files to import. You can use the wildcard character ('*') as you would in the HDFS file system to match more than one file.
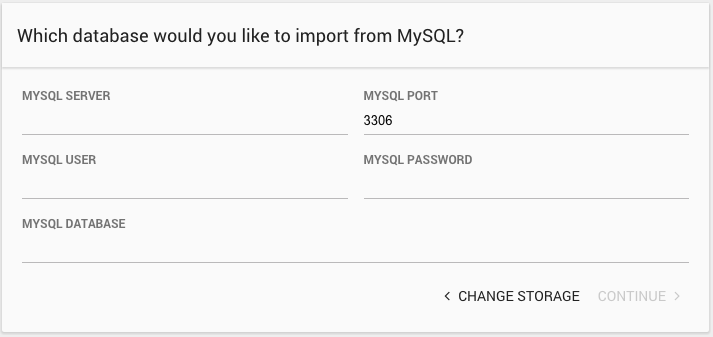
For MySQL, provide:
- MySQL Server: The IP address or hostname of the MySQL server.
- MySQL Port: The port for the MySQL server. Defaults to 3306.
- MySQL User: The name of the user to use to connect to MySQL.
- MySQL Password: The password for the given user.
- MySQL Database: The name of the MYSQL database to import from.
If you choose a CSV-based data source, the importer will next ask a few questions about how your CSV data is formatted:
- Delimiter: A character used to separate fields in the CSV file.
- Escape: A character used to escape quotes in the CSV file.
- Quote: A character used around field values, e.g. “field value”
- Null Token: Fields matching this value will be translated to the SQL NULL value on import.
- Has Headers: Does the first row of the CSV file contain the names of the fields? If so, the first row will not be imported.

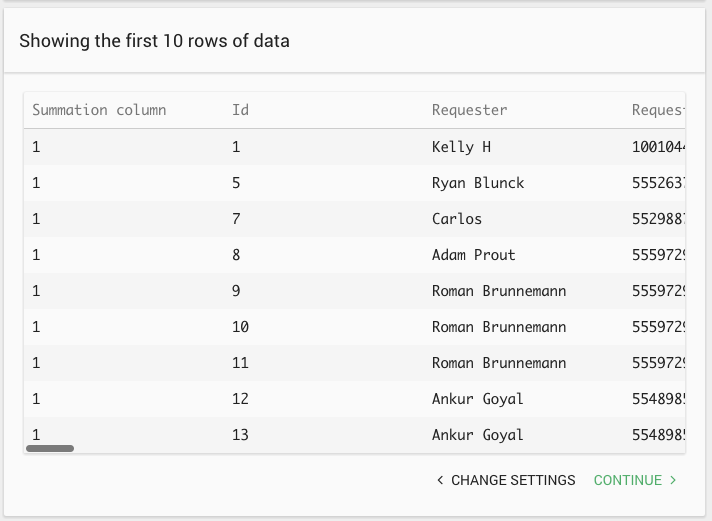
For CSV data sources, the importer samples the data and displays the first 10 rows. This allows you to verify that the CSV formatting settings and the data source connection settings are correct. If the data doesn’t look right, click “Change Settings,” adjust the settings, and try again.
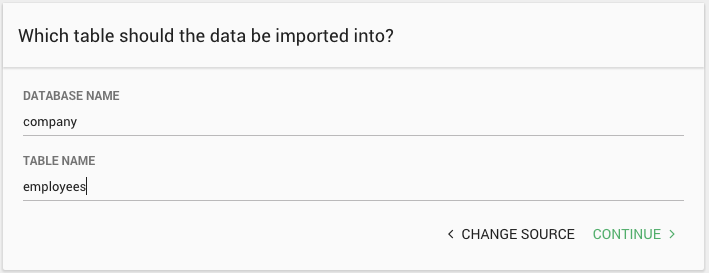
Also for CSV data sources you will be asked to give a database and table name for the data to be imported into. Existing databases and tables will autocomplete into the text boxes.
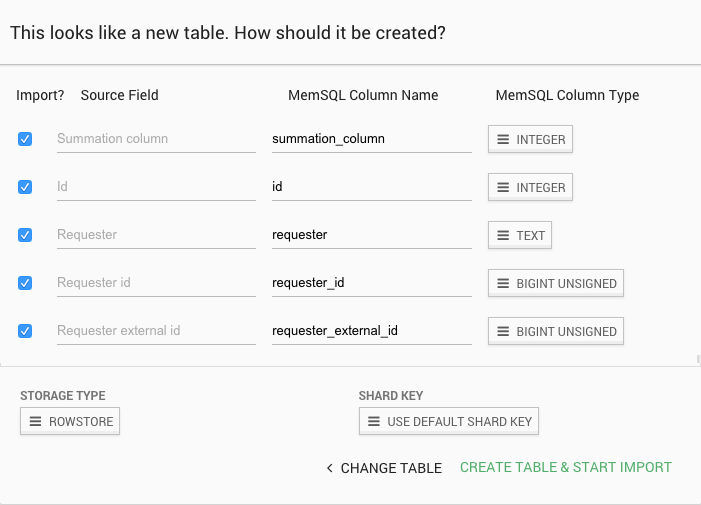
After specifying which table to import into, you will be given the chance to choose which fields to include.
If the table doesn’t already exist, you can choose the column names and specify the column types. You can also choose the storage type for the table (RowStore or ColumnStore) and specify a shard key.
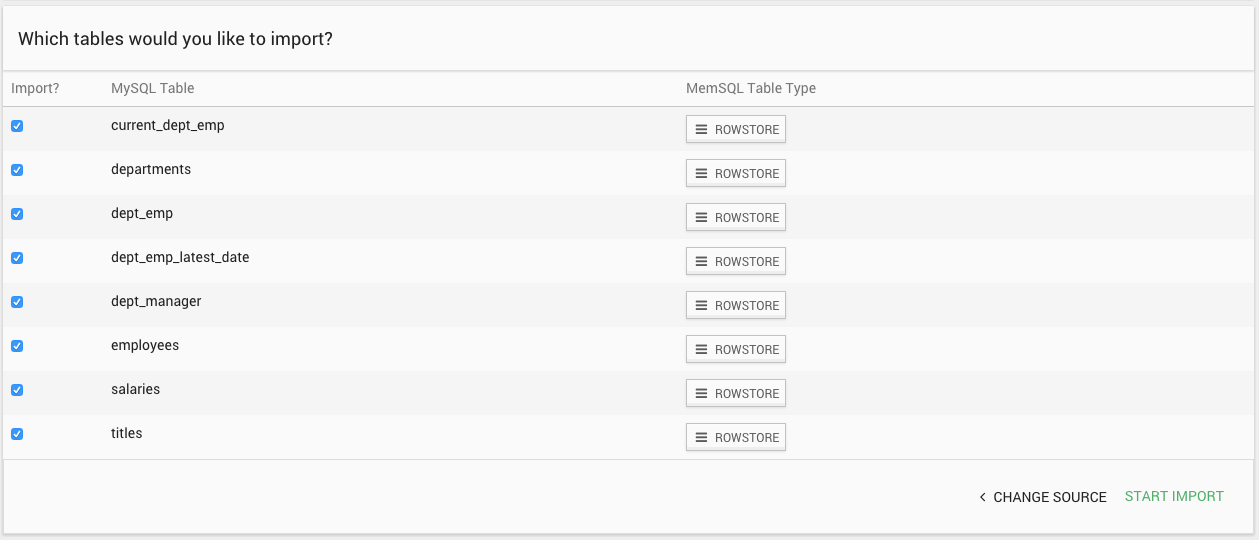
For import from MySQL, the importer lists the tables in the specified database and you can choose which to import and the storage type for each table. The importer uses the existing MySQL schema to create the table in MemSQL.
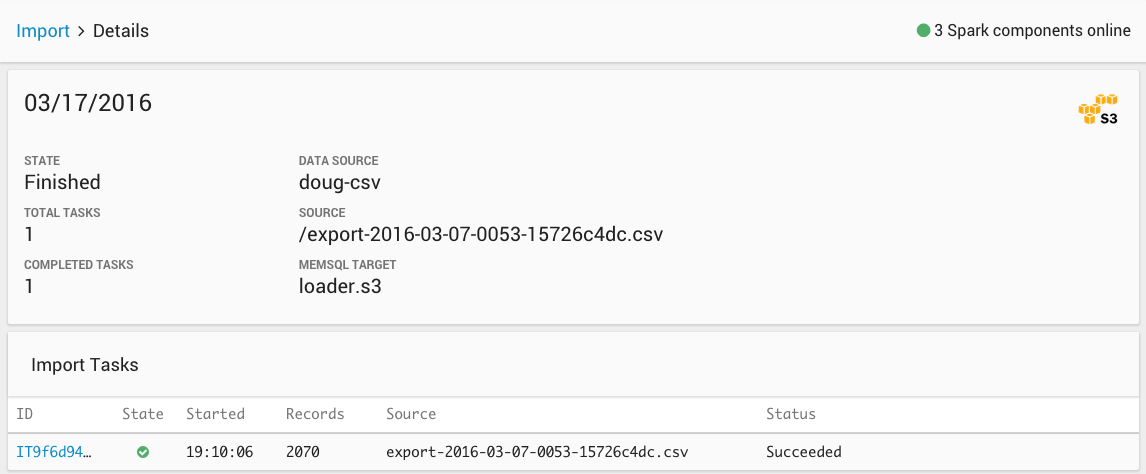
After starting an import job, you will see it listed under Recent Imports on the import page. It shows basic information for the job and it’s current status. Click on the start time to get more detailed information. If the import is actively running, you will also see a progress indicator.

The import detail page shows the full configuration of the job and lists all the files or tables imported and their import status. The page will update as the jobs are completed.
